Preface
Recently, I just made a post where I announce that I’ve made a personal blog from scratch using HTMX and Golang as the backbone of it, skipping JavaScript Framework alltogether. You can read the blogpost here.
This will be the part 1 of many on my HTMX + Go journey, where it will document my process on setting up HTMX first time for my personal blog (which if you read this article in Medium, you can visit it here).
I wont be covering the process in detail as in tutorials, but more of a journal where I document what I’m doing, what is my blockers, and how I overcome (or side-step) it, along with various knick knacks I found during the process.
This series will skip a lot of basic stuff, so I don’t expect complete newbie to follow along. Questions is greatly appreciated though so don’t be shy to just hit me with it in the comment below!
The Setting Up
Template Renderer
First I need to make sure that I can serve HTML files using Labstack Echo, as it is my personal HTTP Router of choice. If we follow the template section of Echo’s Guide, we should provide some sort of “Template Renderer” which implement Echo’s own Renderer interface.
To do that, I came up with this:
type Template struct {
	Templates *template.Template
}

func (t *Template) Render(w io.Writer, name string, data interface{}, c echo.Context) error {
	return t.Templates.ExecuteTemplate(w, name, data)
}

func NewTemplateRenderer(e *echo.Echo, paths ...string) {
	tmpl := &template.Template{}
	for i := range paths {
		template.Must(tmpl.ParseGlob(paths[i]))
	}
	t := newTemplate(tmpl)
	e.Renderer = t
}
func newTemplate(templates *template.Template) echo.Renderer {
	return &Template{
		Templates: templates,
	}
}
The idea with this template renderer is that I can supply variadics of string which represent’s the path where I put the html template files. This is necessary due to template.ParseGlob unable to recursively look for template files. Don’t forget that you should not import the html/template!! but import text/template instead!
Hello World
Now we can test it by creating simple echo server and try to serve simple html file. Let’s start with the usual Hello World, by creating a new index.html file in public path:
{{define "index"}}
<html lang="en">
<head>
<meta charset="UTF-8">
<meta name="viewport" content="width=device-width, initial-scale=1.0">
<title>Hello, World!</title>
</head>
<body>
<p>Hello, World!</p>
</body>
</html>
{{end}}This is just simple html file. But notice the double curly braces ({{}}) sandwiching the html file. This is the go templating tag. In the example above, I simply define a new template with the name of index which I can access directly in go code later.
Now let’s create a simple echo server:
...
func main() {
	e := echo.New()

	// Little bit of middlewares for housekeeping
	e.Pre(middleware.RemoveTrailingSlash())
	e.Use(middleware.Recover())
	e.Use(middleware.RateLimiter(middleware.NewRateLimiterMemoryStore(
		rate.Limit(20),
	)))

	//This will initiate our template renderer
	template.NewTemplateRenderer(e, "public/*.html")

	e.GET("/hello", func(e echo.Context) error {
		return c.Render(http.StatusOK, "index", nil)
	})

	e.Logger.Fatal(e.Start(":4040"))
}
...
This echo server will run in the port :4040 and will render any file .html that was located in the public directory. Then I also create a new endpoint /hello where it will serve the index. Run it and supposedly I should get this:
 Good!
Good!
Passing Value to Template
Now I need to see whether I can pass dynamic values to the template. That’s the point of templating after all. First, I need to modify the index.html code a little bit:
...
<!-- This is how to pass value to a template-->
<p>Hello, World!</p>
<p>Greetings, {{.Name}}!</p>
...
Once again the double curly braces. In this example I want to pass a value named Name into the html file. Then I need to modify my server a bit:
...
e.GET("/hello", func(e echo.Context) error {
	res := map[string]interface{}{
		"Name": "Wyndham",
	}
	return c.Render(http.StatusOK, "index", res)
})
...
This will make the renderer take the value of res as the root value, and will find any child value with the key of Name. It should then render the result like this:
 Now we know that we can pass dynamic values into our template!
Nested Template and Passing Value Between Template
Now the last part before we start dealing with HTMX is that whether I could nest another template into the index template. To do that, I created this simple template file named name_card.html:
<!-- name_card.html-->
{{define "name_card"}}
<div>
	<p>User Personal Information:</p>
	<ol>
		<li>Name: {{.Name}}</li>
		<li>Phone: {{.Phone}}</li>
		<li>Email: {{.Email}}</li>
	</ol>
</div>
{{end}}
Then we need to modify the index.html another bit. First delete the greetings line, then add the following:
...
<p>Hello, World!</p>
<!-- Delete this line <p>Greetings, {{.Name}}!</p> -->
{{template "name_card" .}}
...
Then we need to once again modify our server:
...
e.GET("/hello", func(e echo.Context) error {
	res := map[string]interface{}{
		"Name": "Wyndham",
		"Phone": "8888888",
		"Email": "[email protected]",
	}
	return c.Render(http.StatusOK, "index", res)
})
...
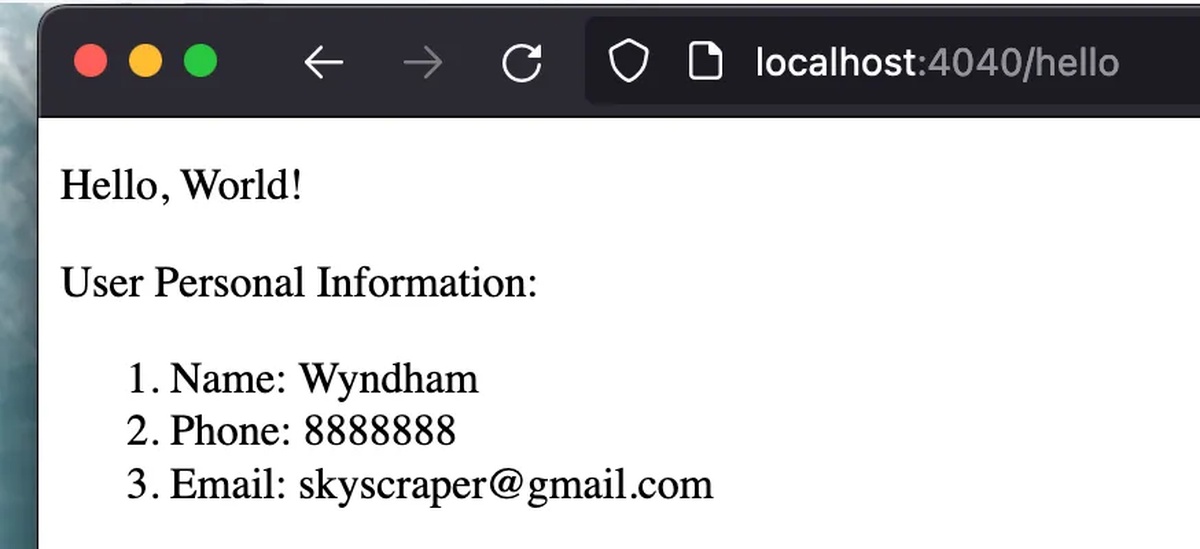
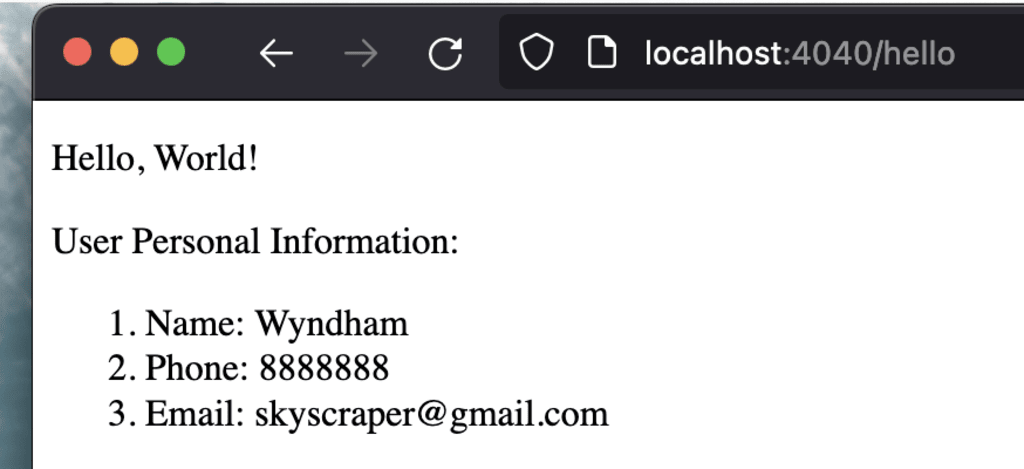
Now if I’m right here, I should be able to render the personal info like so. The logic here is that we’re passing a map of interface with 3 key pair value containig Name, Phone, Email. And we’re accessing those in the name_card by using the double curly braces.
But to make sure that the name_card template receive the values, we need to pass the res values into them hence the extra . in the {{template "name_card" .}} inside the index.html.
And sure enough:
 We manage to nest multiple template file and pass around a variables between them! Now that we’re done with the templating setup, let’s touch HTMX a little bit.
Using HTMX to Reveal a Contact Info
I would create a simple view where It would list a name and a button next to it to reveal the contact info. To do that, first I need to add HTMX to this project. To make things simple, I would add it via CDN for the moment:
<head>
    ...
    <script src="https://unpkg.com/[email protected]" integrity="sha384-xcuj3WpfgjlKF+FXhSQFQ0ZNr39ln+hwjN3npfM9VBnUskLolQAcN80McRIVOPuO" crossorigin="anonymous"></script>
</head>
This will add the HTMX into our code via CDN. Now we need to modify our index.html once again to not directly reveal the user info:
...
<p>Hello, World!</p>
<!-- Delete this line {{template "name_card" .}} -->
<div id="user-info">
	<p>{{.Name}}</p>
	<button hx-get="/get-info" hx-target="#user-info" hx-swap="innerHTML">Reveal Info</button>
</div>
...
This will basically set the UI to only reveal the name part, and setting up a button where it will hit the /get-info endpoint, and then target the #user-info element and swap the inner part of the target element (basically left the <div> alone and change everything inside the <div>).
Okay, that seems like a lot of jargon. I won’t explain it here as it has been told better in the htmx webpage which you can access here. Now let’s move on by creating new endpoint handler in our server that should be able to handle the /get-info path:
e.GET("/get-info", func(c echo.Context) error {
	res := map[string]interface{}{
		"Name": "Wyndham",
		"Phone": "8888888",
		"Email": "[email protected]",
	}
	return c.Render(http.StatusOK, "name_card", res)
})
It is almost identical to the /hello ones but it has two major difference:
change the path to
/get-info, which is obvious.change the target template to
name_card.
But wait! isn’t name card wasn’t a valid HTML file? it does not has doctype, it does not have header, etc. and Yes, you’re correct. But this is HTMX in action. It will not swap the whole page, but only the targeted part, in this case user-info element that we specify in the index.html.
Now, without further ado, let’s run the server and see what happened:
Holly molly! that works! Now that we now HTMX works well with Go Template, we can finally working on our blogging site. But unfortunately, I won’t be covering it in this article. I would comeback soon though, it won’t be long!
Conclusion
Thanks for reading this blogpost. The takeaway here is that Go Template is very flexible to use and it also works well with HTMX, at least in this small simple scope here. In the following blogpost we will create a basic CRUD where we can store our articles in the DB and access it in the browser.
A little bit spoiler though: I won’t be using that much HTMX in there, or the after, and after that too. Turns out You don’t need that much HTMX when it comes to blogging web. Shocking I know. But we will use it extensively when we came to the part where we create our pagination, search, and reatime Markdown renderer.
So look forward to that! Thanks for reading!
#blogging #Tutorial #Htmx #Golang #static-site-renderring #series #Tailwind Css
