Personal Blog with HTMX + Go: Part 1 - Golang Templating
This is the first part of the series where I document my journey creating a personal blog using HTMX and Go. This part will cover the basics of Go templating with Labstack Echo.
Prerequisites
Before we start, make sure you have:
- Go installed (1.21 or later recommended)
- Basic understanding of Go syntax
- A text editor of your choice
Setting Up the Project
First, let’s create a new Go project:
mkdir my-blog
cd my-blog
go mod init my-blog
Next, we’ll install Echo, our HTTP framework of choice:
go get github.com/labstack/echo/v4Understanding Go Templates
Go’s html/template package is powerful yet simple. Templates allow us to:
- Separate HTML from Go code
- Inject dynamic data into HTML
- Create reusable components
Basic Template Syntax
Templates use double curly braces {{}} for dynamic content:
{{define "greeting"}}
<h1>Hello, {{.Name}}!</h1>
{{end}}
The . represents the data passed to the template.
Creating Our First Template
Create a directory structure:
my-blog/
├── main.go
├── public/
│   └── index.html
└── template/
    └── template.go
Let’s create public/index.html:
{{define "index"}}
<!DOCTYPE html>
<html lang="en">
  <head>
    <meta charset="UTF-8" />
    <title>My Blog</title>
  </head>
  <body>
    <h1>Welcome to {{.Title}}</h1>
    <p>{{.Description}}</p>
  </body>
</html>
{{end}}
Setting Up the Template Renderer
Create template/template.go:
package template

import (
    "html/template"
    "io"
    "github.com/labstack/echo/v4"
)

type TemplateRenderer struct {
    templates *template.Template
}

func (t *TemplateRenderer) Render(w io.Writer, name string, data interface{}, c echo.Context) error {
    return t.templates.ExecuteTemplate(w, name, data)
}

func NewTemplateRenderer(pattern string) *TemplateRenderer {
    return &TemplateRenderer{
        templates: template.Must(template.ParseGlob(pattern)),
    }
}
Wiring Everything Together
Now let’s create our main.go:
package main

import (
    "net/http"
    "my-blog/template"
    "github.com/labstack/echo/v4"
)

func main() {
    e := echo.New()

    // Set up template renderer
    e.Renderer = template.NewTemplateRenderer("public/*.html")

    // Define routes
    e.GET("/", func(c echo.Context) error {
        data := map[string]interface{}{
            "Title":       "My Blog",
            "Description": "Welcome to my personal blog built with HTMX and Go!",
        }
        return c.Render(http.StatusOK, "index", data)
    })

    // Start server
    e.Logger.Fatal(e.Start(":4040"))
}
Running the Application
Start the server:
go run .Visit http://localhost:4040 and you should see your rendered template!
Creating Reusable Partials
One of the best features of Go templates is the ability to create partials. Let’s create a name card partial:
Create public/name_card.html:
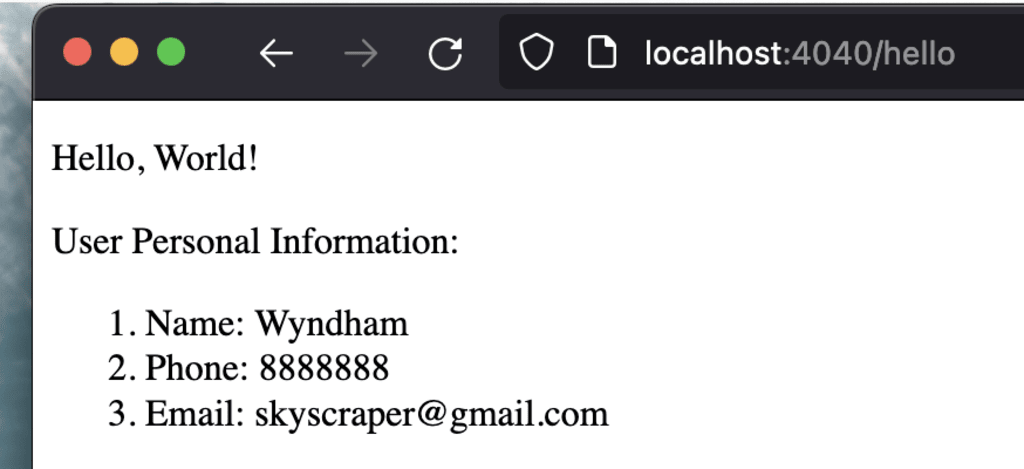
{{define "name_card"}}
<div>
  <p>User Personal Information:</p>
  <ol>
    <li>Name: {{.Name}}</li>
    <li>Phone: {{.Phone}}</li>
    <li>Email: {{.Email}}</li>
  </ol>
</div>
{{end}}
You can include this in other templates using:
{{template "name_card" .User}}Introducing HTMX
Now here’s where it gets interesting. HTMX allows us to make AJAX requests directly from HTML attributes. Add HTMX to your page:
<script src="https://unpkg.com/htmx.org@1.9.10"></script>Now we can create interactive elements:
<button hx-get="/user-info" hx-target="#user-info" hx-swap="innerHTML">Load User Info</button>
<div id="user-info"></div>
When clicked, this button will:
- Make a GET request to
/user-info - Replace the contents of
#user-infowith the response
Creating the User Info Endpoint
Add this to your main.go:
e.GET("/user-info", func(c echo.Context) error {
    user := map[string]interface{}{
        "Name":  "Wyndham",
        "Phone": "+62-xxx-xxx-xxxx",
        "Email": "business@mwyndham.dev",
    }
    return c.Render(http.StatusOK, "name_card", user)
})
What’s Next?
In the next part, we’ll integrate TailwindCSS to make our blog look professional. We’ll cover:
- Setting up TailwindCSS with Go
- Creating responsive layouts
- Styling our components
Stay tuned!
#blogging #Golang #Htmx #Tutorial #series