Personal Blog with HTMX + Go: Part 2 - Integrating TailwindCSS
This is the second part in my journey documenting my effort creating personal blog (which you can access here). You can read the previous part here or the Medium version instead here.
Our Goal This Time
Previously, we’ve manage to create a simple interactive elements with HTMX, this time, as promised, I would start integrating TailwindCSS into the processs. I will assume you have the code of the previous blogpost so this will continues directly from that.
Short Intro on How Tailwind Works
The basics of how tailwind can work in a Go project consists of these elements:
tailwind clitailwind.config.js- base
main.cssfile - target output css file (mine usually called
tailwind.css)
Tailwind CLI
requires npm and npx in the development PC. It was not required during deployment though.
This is how we mostly interact with tailwind. It’s job is basically to scan through the files that we dictates as the source, then tries to find the predefined tailwindcss classes by using pattern matching.
Once it finds the matching classes, it will then adds the correct css class with all of it’s properties into the output .css file we want. We then can just include this output css class into our HTML to render the css.
tailwind.config.js
This is the configuration file where we dictates how tailwind works in the particular project we’re in. Here we need to define the Path & Pattern where we store our html files for tailwind to scan. More on that Later.
Setting up Tailwind Into Our Project
Installing TailwindCSS CLI
First, we need to install tailwind. You need to have npm installed in your development system. Don’t worry, you don’t need to have npm runtime during deployment, it will only needed to install the tailwind-cli.
As of the writing of this article, this is how you can install tailwind cli into your system:
npm install -D tailwindcssIt should then install the whole suites for you.
Setting Up Configuration
Next, we need to initiate tailwind in our project. To do this you only need to run:
npx tailwindcss initJust make sure that your terminal is currently lives in the project directory you want to work on. Or else, it will just initiate wherever your terminal currently running on.
After running this terminal command, it will creates new file called tailwind.config.js that usually going to look like this:
    module.exports = {
      content: ["./src/**/*.{html,js}"],
      theme: {
        extend: {},
      },
      plugins: [],
    }
The config as it is is alright, but we need to modify one thing. Let’s assume your project structure is like this:
- /project-dir
	- template
		- template.go // This is the templating renderer we have previously
	- public
		- index.html
		- ...
	- main.go
If we follow the structure above, we’re saving our *.html files in the public directory. So we need to tell tailwind that there is the place it should look for files to parse the classes.
To do that, modify the content section in the config above into this:
...
module.exports = {
      content: ["./public/**/*.html"],
      ...
    }
...
Which is basically telling tailwind to find every subdirectory of /public (hence the /**), and look for any file that has .html extension (/*.html).
(Optional) Add VSCode Extensions
There are 2 extensions in VSCode that will makes our life better when dealing with Tailwind:
- Tailwind CSS IntelliSense
- Prettier
These 2 things are works in tandem, as TailwindCSS IntelliSense will gives us the autocompletion things in tailwind which is very important as the pre-defined classes in tailwind is a lot.
Prettier on the other hand will automatically sort our css classes in the order that is consistent with Tailwind’s own class definition, which makes bulk rename of classes easier if you have multiple elements that has the same css class structure.
Both handles that by default so all you need to do is install it and you will immediately able to use it.
(Optional) Neovim LSP
If you sick of VSCode and uses Neovim instead, you can get similar functionality using LSPConfig for TailwindCSS.
Setting up Prettier is a bit of a mixed bag though, as one of the most popular neovim config for Prettier requires null-ls which is, as of the writing of this article, already enters Archive Mode and no more development is being done.
Alternatively, You can use Diagnostic Language Server which includes Prettier, or try to hack around prettier LSP youself following Prettier’s own documentation in using it in VIM.
Creates Our Primary CSS File
While not required, we may want to have custom css classes our own to handle several unique casses that tailwind may not able to solve easily.
To do that, first we create new directory, let say, dist where we would put our statically serveable files for our blog. After that, let’s create a new main.css file:
$> mkdir dist
$> cd dist
$> echo '@tailwind base;\n@tailwind components;\n@tailwind utilities;' > main.css
Which then should creates a new main.css file that contains several information:
@tailwind base;
@tailwind components;
@tailwind utilities;
Compiling the Output
After all of the configuration is done, now we need to test whether our configurations will output the correct tailwind css output or not. To compile, we can call this function:
npx tailwindcss -i ./dist/main.css -o ./dist/tailwind.cssIf you’re familiar enough with any tools, it’s pretty clear what happened here:
- set the input file to be
main.cssin the/distdirectory - set the output file to be
tailwind.cssin the/distdirectory
If all things well, you will see a new tailwind.css file in the /dist directory, and roughly look like this at the top:
/*
! tailwindcss v3.3.2 | MIT License | https://tailwindcss.com
*/

...
With this, all of the setup related to TailwindCSS is complete, we can start using it in our go project.
Note: For easier time in compiliing tailwind css, you may want to use --watch flag to makes the tailwindcss cli keep alive and watching changes from our code.
I will revisit the whole build process in the later part, like using auto hot reload tools and makes tailwind be part of that instead of separate watcher.
Serving CSS Files
Just kidding, there is one more thing before we continue to using tailwind. Remember that we already have the .css files that we need, but as of right now, we’re not yet serving that files to be accessible by our HTML code in the client.
To do that, we need to add 1 more routes in our main.go file that points to the whole directory. Luckily, echo has pretty good out-of-the-box solution for this.
You only need to add following lines in the main function:
e.Static("/dist", "dist")And basically any file inside the dist directory will be accessible via the /dist path in our URL.
Next, we need to point to our css file in our html file. In this example I will show how to add it to our index.html file:
<head>
  <link rel="stylesheet" href="/dist/tailwind.css" />
  <!-- other head elements here -->
</head>
And now our tailwind css classes is accessible by our html code!
Testing our Setup
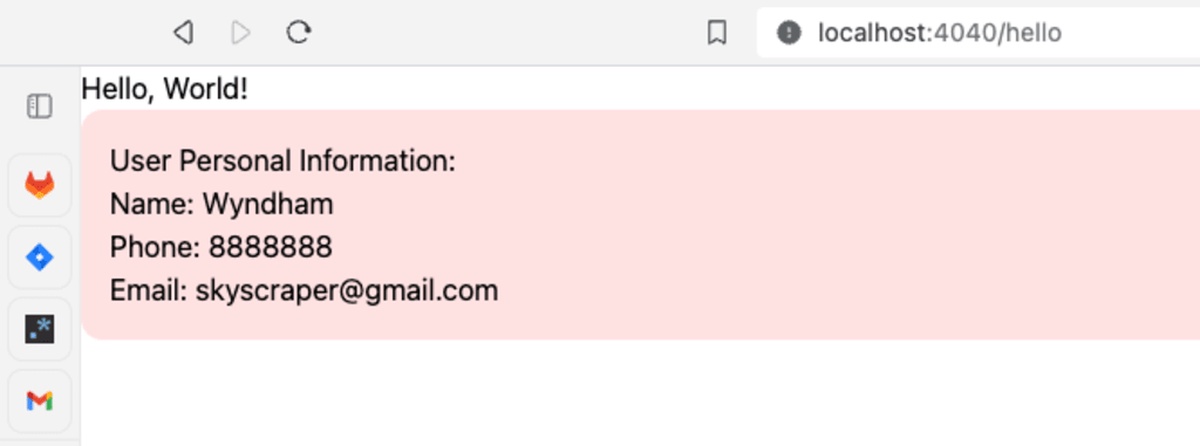
Now, lets try to add very simple background into our name_card.html. You still remember this file right? Let’s add red background, a bit of padding, and rounded corner to the parent <div>:
<!-- Add these classes! -->
<div class="bg-red-100 p-4 rounded-xl">
	<p>User Personal Information:</p>
	<ol>
		<li>Name: {{.Name}}</li>
		<li>Phone: {{.Phone}}</li>
		<li>Email: {{.Email}}</li>
	</ol>
</div>
Now, let’s run our project again, but don’t forget to compile the output files first:
npx tailwindcss -i ./dist/main.css -o ./dist/tailwind.cssNow let’s run our code and we should have this as the output:
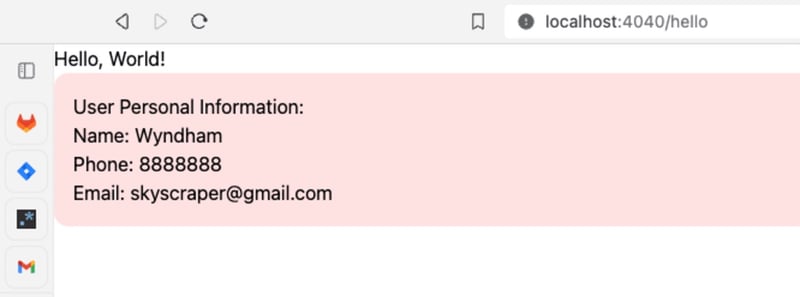
Good!
Wrapping Up, and What’s Next
With this, the setting up TailwindCSS is complete. We made it works pretty flawlessly with our Go template file and renders the output properly.
In the next part, we will start to creates the whole thing about blogging in the first place: Markdown Editor. It would not reusing existing WYSIWYG editors out there like CkEditor or any Javascript-based Markdown Editor.
Instead, it will have fancy server side markdown rendering and has realtime preview of our markdown codes. And this time, we will actually uses HTMX to our advantage!
Seems exciting? please eagerly wait for the next part!
#blogging #Golang #Tailwind Css #Htmx #static-site-renderring #series